Using Post Production to Create A Man in the Moon image surrounded by Star Dust
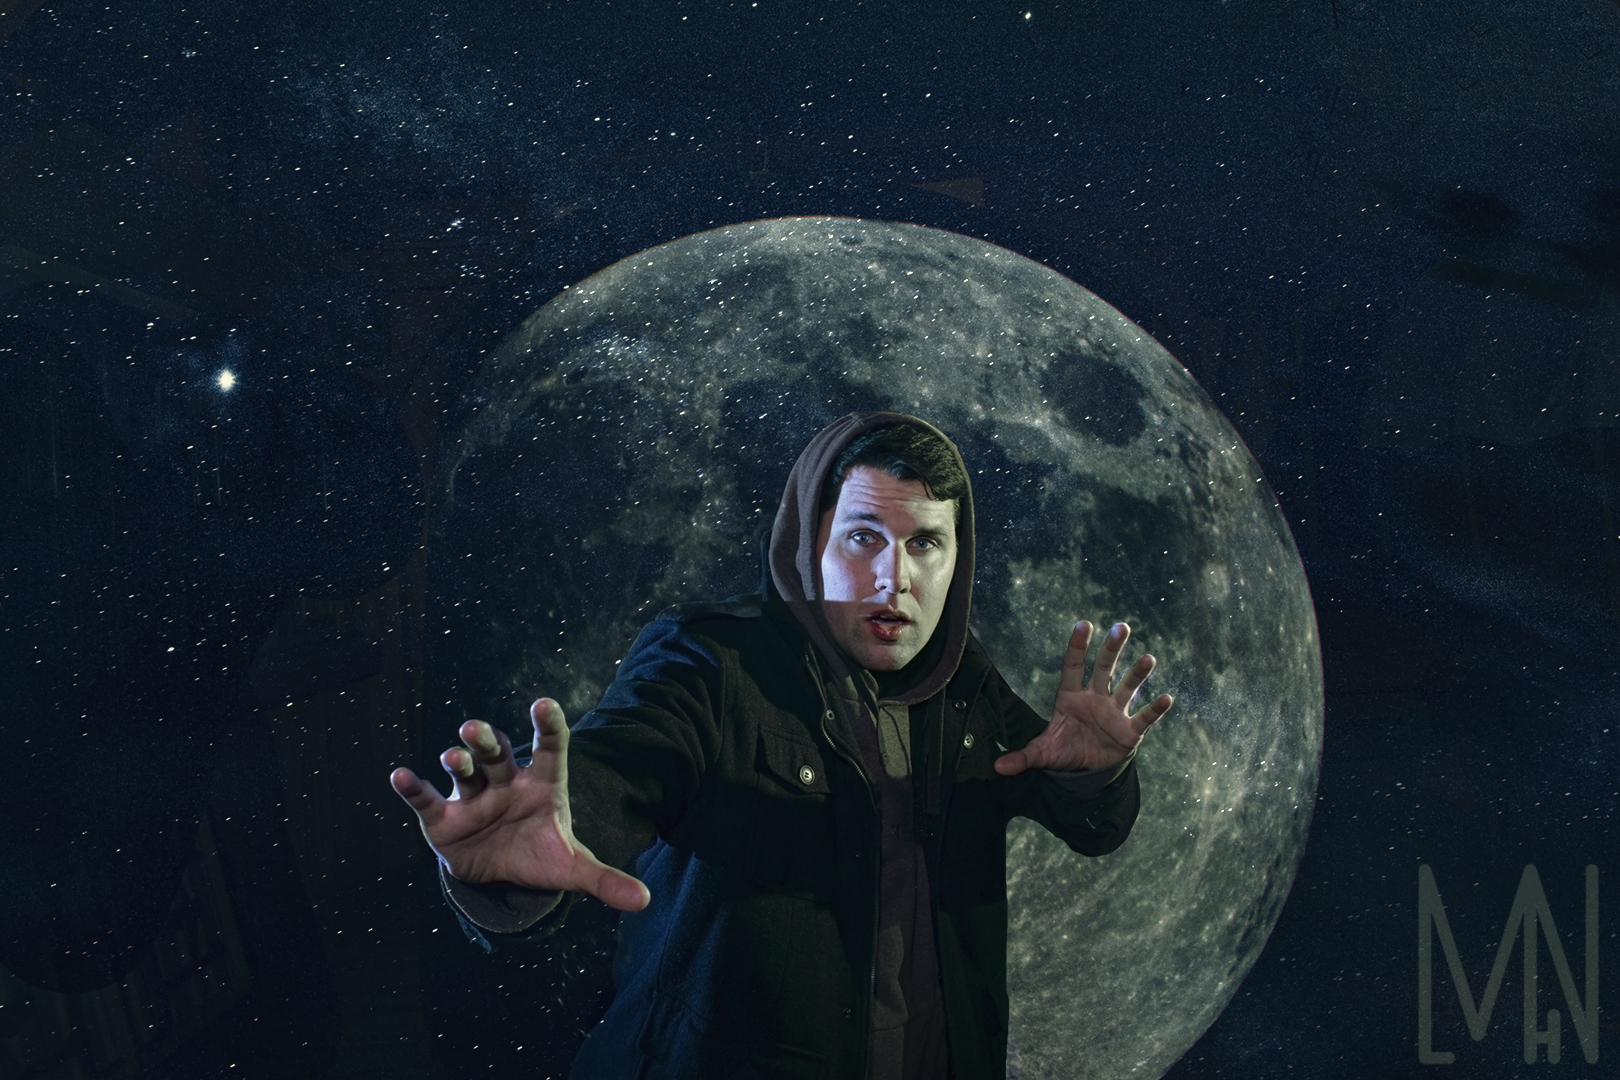
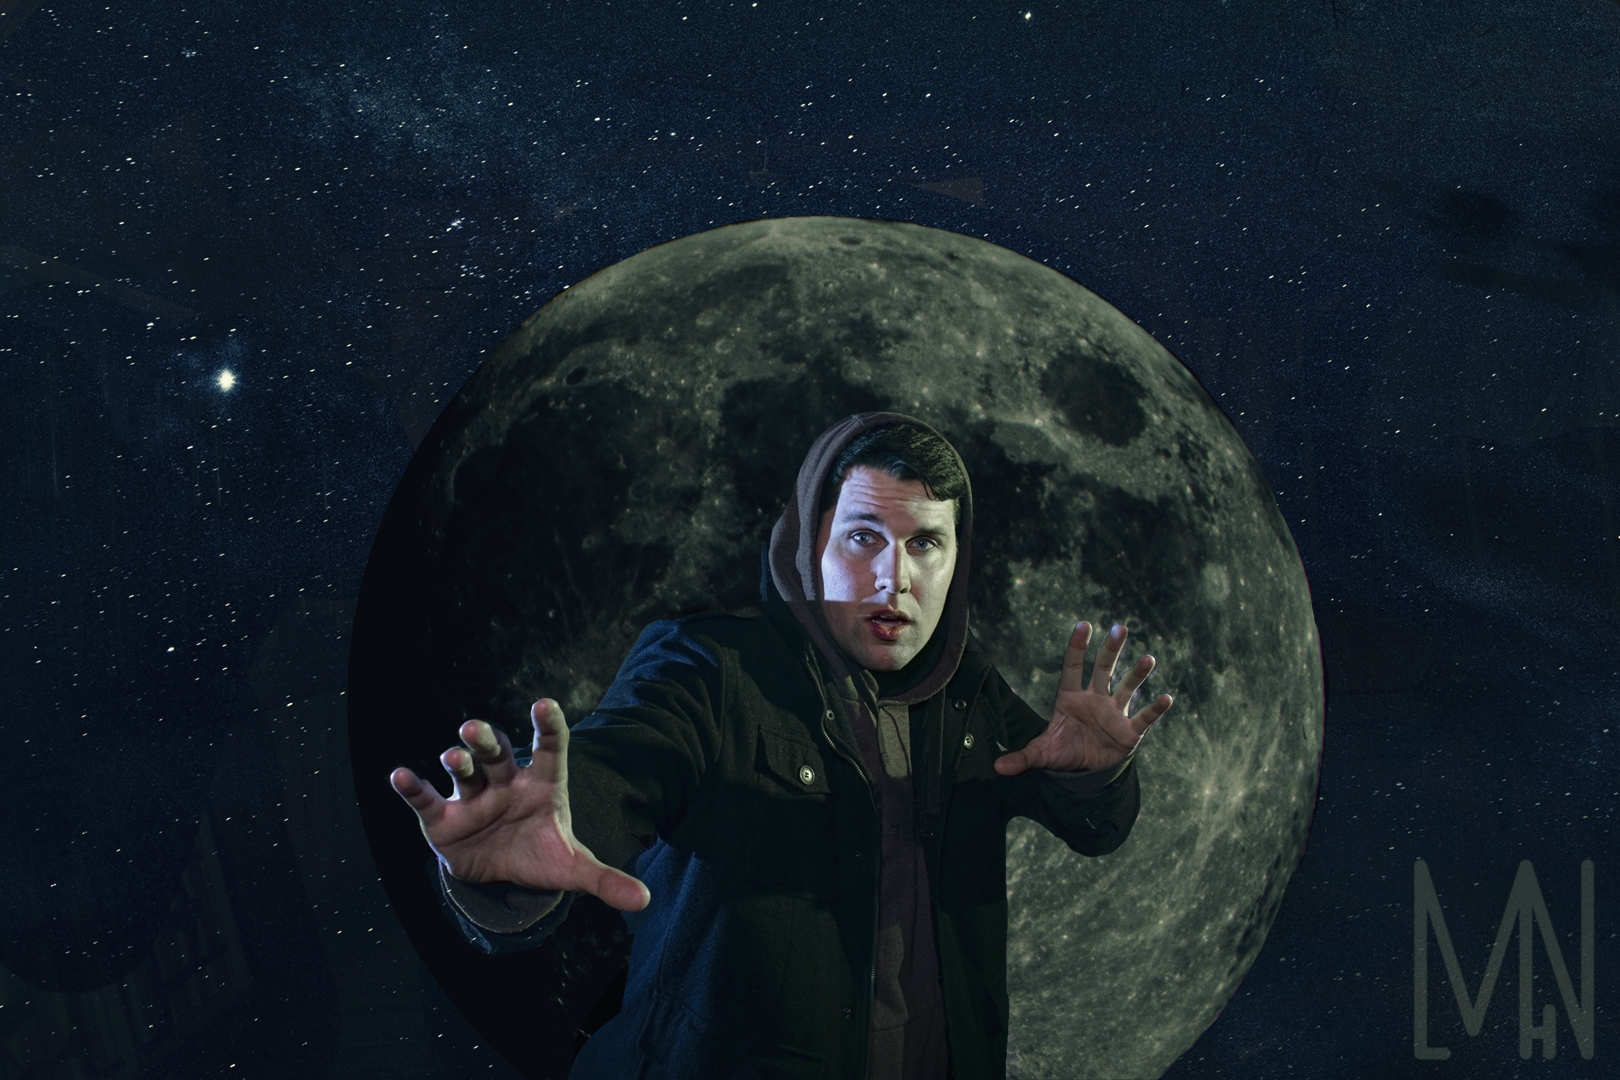
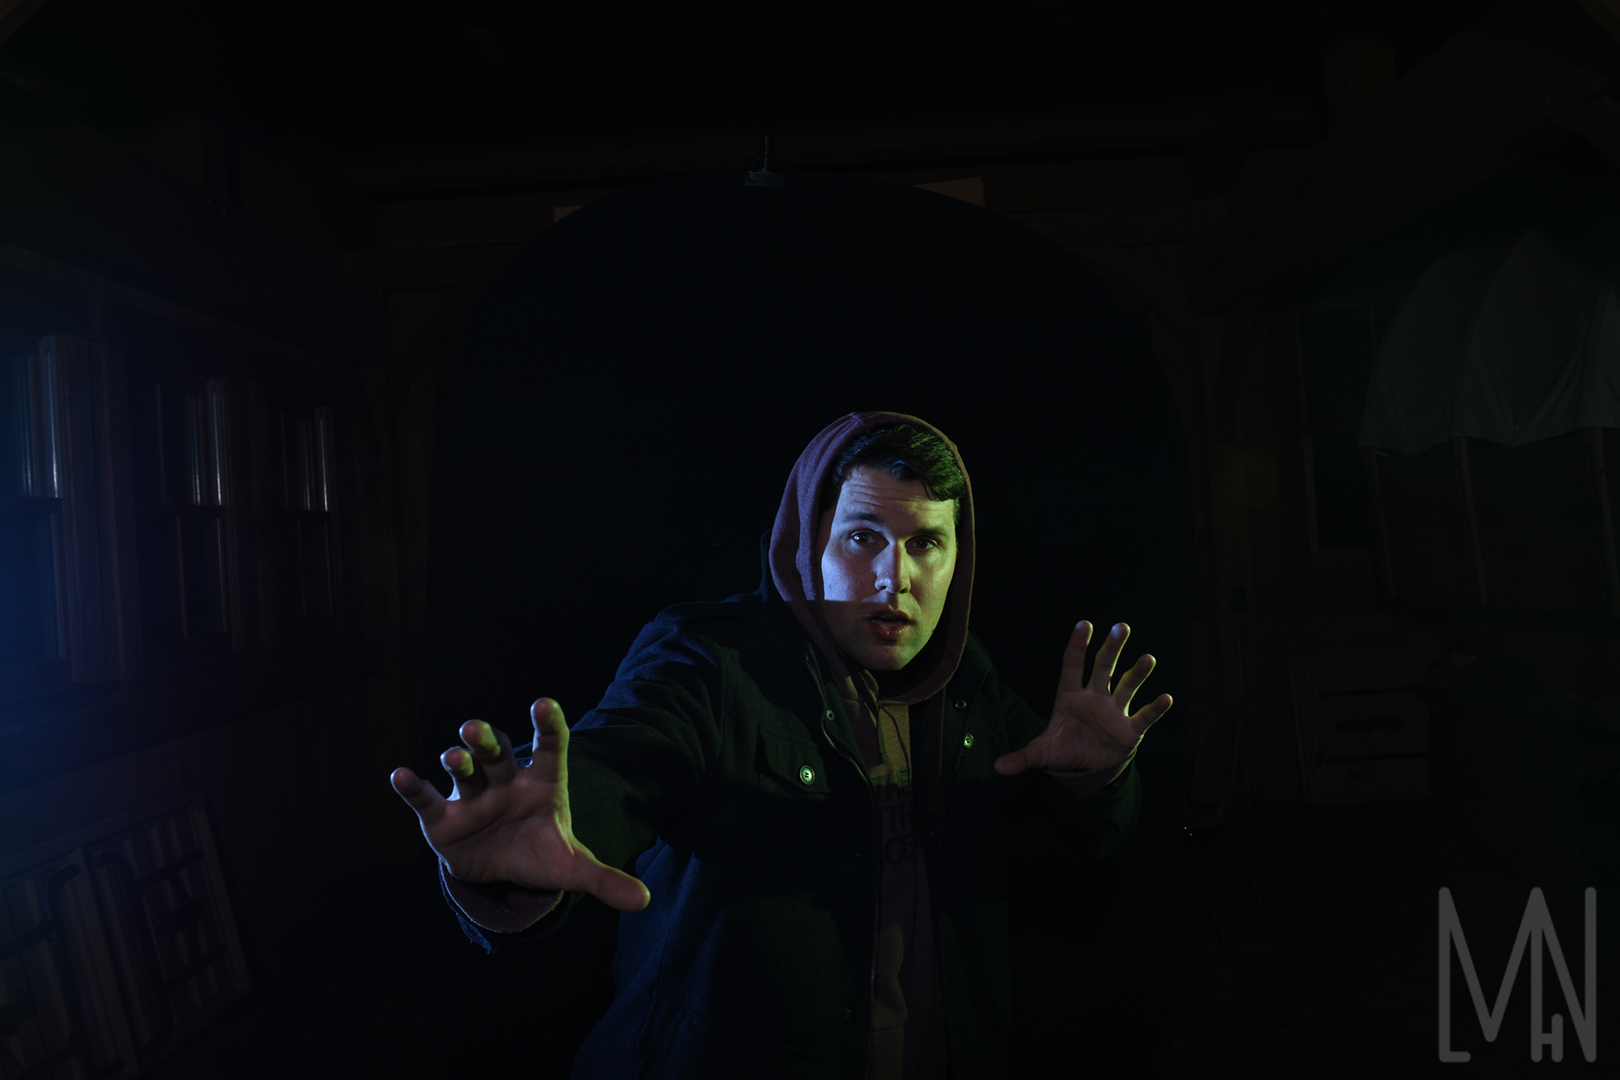
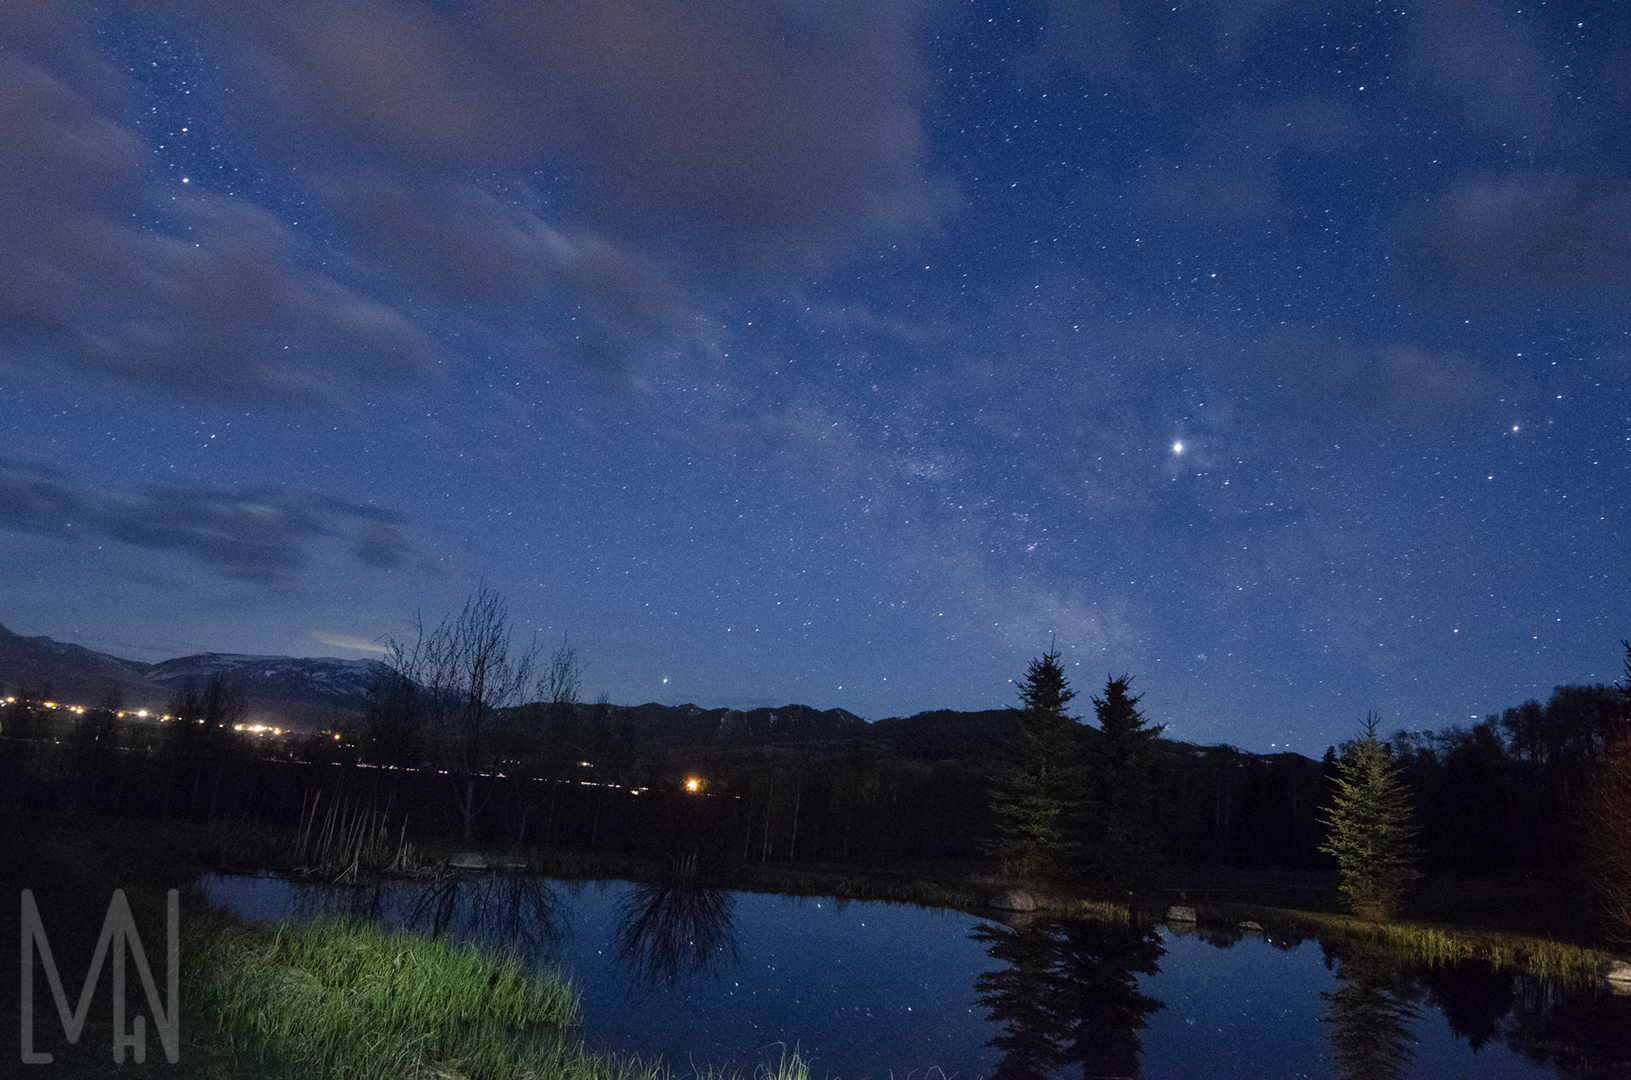
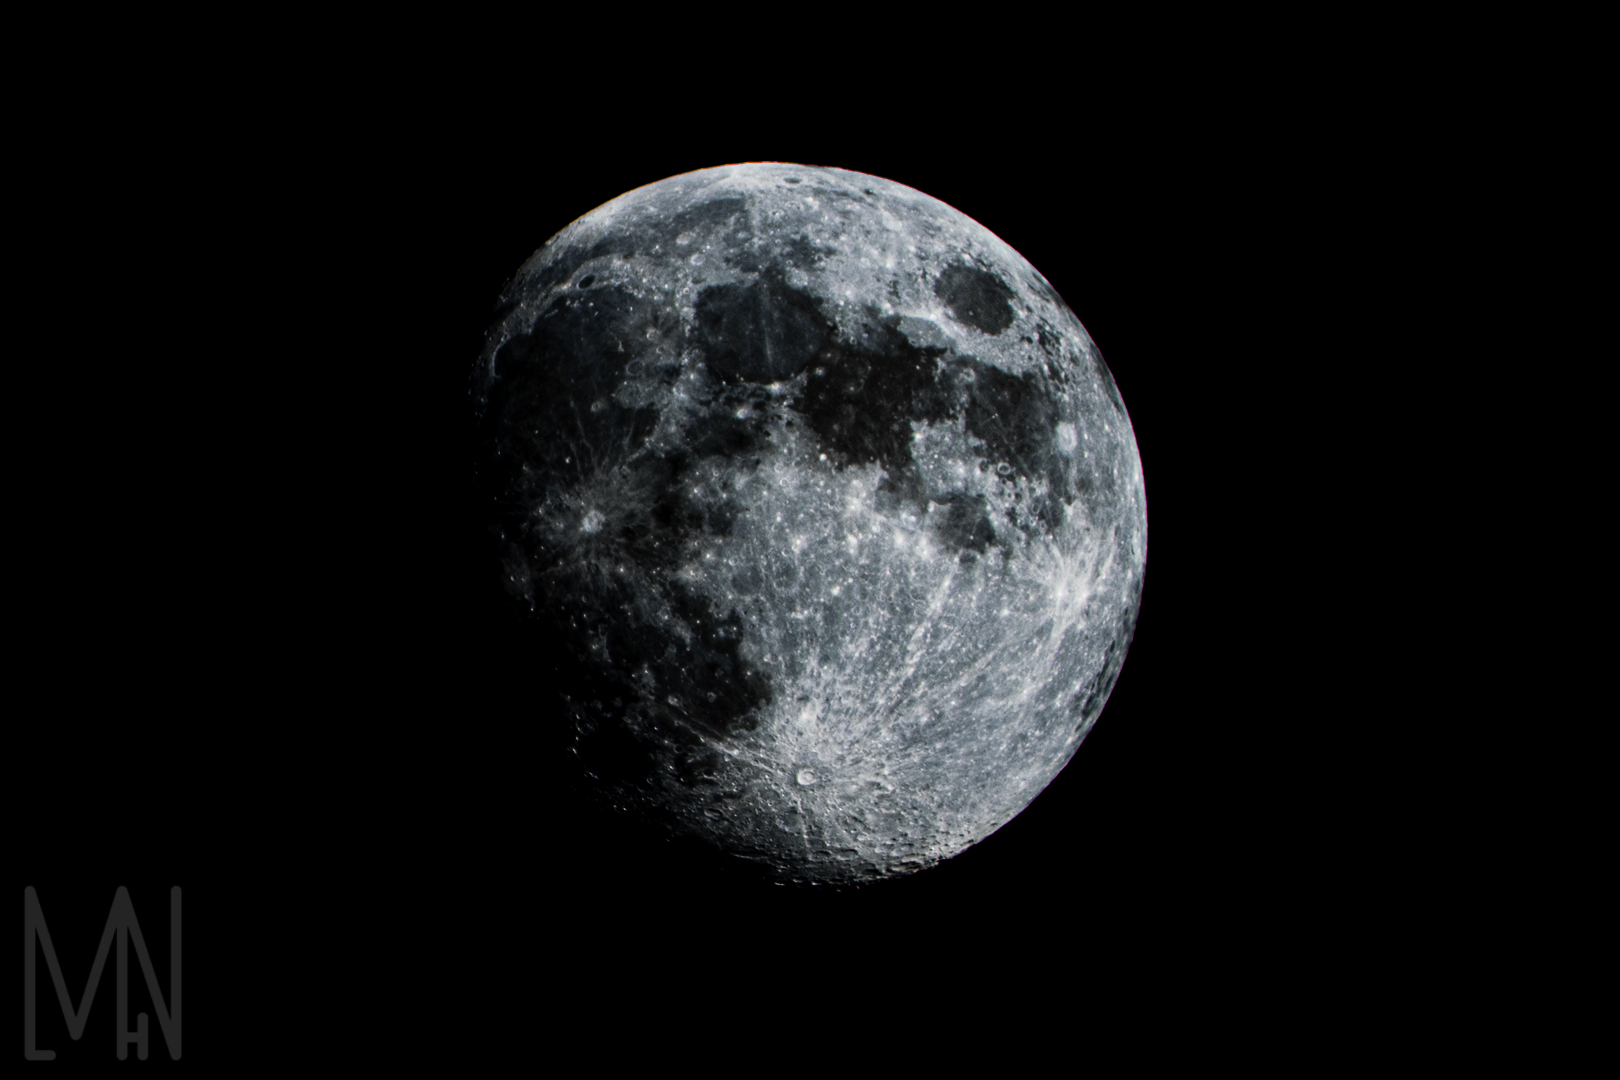
In order to create this post production image, I took three different photos and merged them together. The one of the man (Matt Pond), I took using two speed lights. One had a blue gel and the other had a green gel. This was taken in a barn at night. The second image of the “star dust” I took one evening over a pond outside. I just had to crop the star image and edit it to make it a little fuzzy to create the appearance of the stars being dusty. Hence the term, “Star Dust”. I took the moon image a while back using a telephoto lens. I simply screened it into the post production image and used a mask/brush to bring the man out of Moon. I wanted the moon to be a little transparent as if the man in the moon was leaving the moon. It gave it a more mystical feel and I think it helped keep the main focus on the man.
The detailed process took a while. I started with the image of the man and the image of the star dust. I placed the star dust over the man and used “lighten” in Photoshop to blend it in. I then masked the star dusk in my post production image and used the brush to paint the man out of the stars. After that, I combined the images together and created a copy.
My next step was to change the man’s eyes. I pressed Q in Photoshop to make the layer red. I then proceeded to paint over our man’s iris’s until they were all covered. I then was able to use control J to duplicate the layer. I then changed the post production image from normal to Linear Dodge. This allowed me to add a selective color. I then changed the man’s eyes to a more moon white/star blue color to really make them pop. It also created an idea that there was something deeper inside of him. Like a secret trying to burst out.
After all of this, I added color lookout tables to my image to make the image feel more cohesive. I used Tension Green, Edgy Amber and Foggy Night. When I had finished adding in all the color and masking some of his skin, I realized this post production image felt very empty. I decided to go back a bit and mask in the moon behind our man making him, the man in the moon. Rather, he became the man who escaped the moon.
I love how this picture turned out because the man in the moon looked almost lost among the star dust. The image could show where he came from but he doesn’t seem to know where he’s going. I like that overall message and feel. Space is so mysterious to us, even the man in the moon could feel lost outside his home in the moon. Still, I couldn’t decide which post production final image I liked best. One where the moon is solid or among the stars. I’ll let you decide.
Take a closer look below to see the final post production images and what images I put together to make it a post production image. Be sure to comment your favorite!
Originals
Interested in learning more about post production images? Check out Fstoppers page here!

Meghan this is so creative! And way to go above and beyond to combine 3 photos! It tells an interesting story. The lighting reminds me of the lighting of Matt’s Sherlock movie poster!
Check out Kenzie’s post production post here: http://kenziegulleyphoto.com/3-secrets-to-amazing-photoshop-skills/
Here’s my blog post about a similar subject: https://www.brennanichole.com/80s-style-portrait-adding-texture-in-post-production/
I admire your creativity. Great job! Check out my blog about post-production: https://cynthiahcruz.com/post-production-how-to-edit-your-photos/
Have you seen Jordan’s awesome post production shot! https://jordanjwood.com/awesome-post-production-effects/#comment-59
Check out this site if you want to learn more photoshop effects: https://design.tutsplus.com/articles/20-cool-photoshop-photo-effects-to-add-style-wow–cms-30944
Hey Meghan! I really like what you did with this photo! I love the moon and the shadows on his face add to the effect! Good job!
Check out what I did: https://jordanjwood.com/awesome-post-production-effects/
Check out what Kenzie did: http://kenziegulleyphoto.com/3-secrets-to-amazing-photoshop-skills/?unapproved=23&moderation-hash=fcd28722d97809f37dc7c855dc7dec72#comment-23
Check out this awesome blog post with tips on adding textures: https://2lilowls.com/my-top-tips-for-adding-textures-to-your-photos/